


Command line interface for performing Git hosting service operations.
This tool is a provider-independent version of Hub and Lab.
The current focus is implementing Gitlab functionalities (0.3.x series).
Everything is tracked in detail via issues and milestones.
The functionalities currently supported are:
- Github/Gitlab:
- create label
- list issues, labels, milestones, MR/PRs
- merge MR/PR
- open repository
- Github:
- comment PR
- create gist, issue, milestone, PR
Geet requires the API token environment variable to be set, eg:
export GITHUB_API_TOKEN=0123456789abcdef0123456789abcdef    # for GitHub
export GITLAB_API_TOKEN=0123456789abcd-ef0-1                # for GitLab
All the commands need to be run from the git repository.
Basic creation of an issue:
$ geet issue create
The default editor will be used for title/description:

Labels, milestone and assignees will be asked with menu selection:
Please select the label(s): (Use arrow keys, press Space to select and Enter to finish, and alphanumeric/underscore characters to filter)
‣ ⬡ bug
  ⬡ enhancement
  ⬡ not_an_issue
  ⬡ requires_design
Labels, milestone and assignees can be directly specified with the respective parameters:
$ geet issue create --labels bug,wip --assignees johncarmark --milestone 1.0
After creation, the issue page will be automatically opened in the default browser.
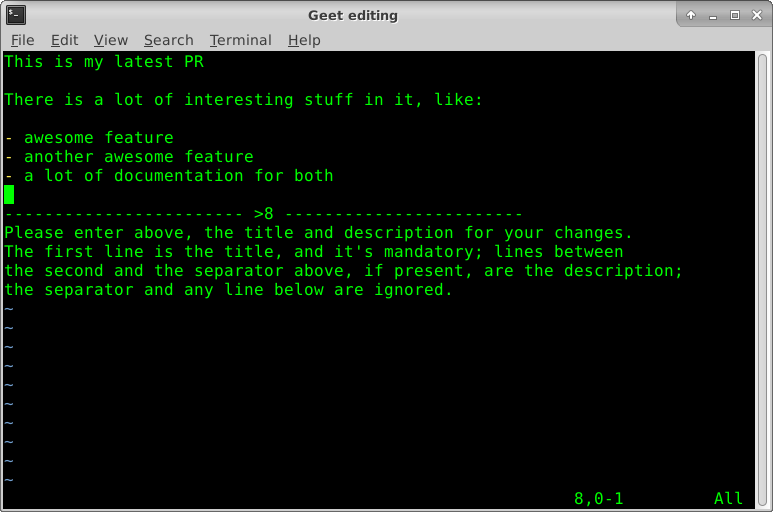
Basic creation of a PR:
$ geet pr create
The default editor will be used for title/description:

More advanced PR creation, with label and reviewers, assigned to self:
$ geet pr create --labels "code review" --reviewers kevin,tom,adrian
After creation, the issue page will be automatically opened in the default browser.
List the open issues, in default order (inverse creation date):
$ geet issue list
> 16. Implement issue opening (https://github.com/saveriomiroddi/geet/issues/16)
> 14. Update README (https://github.com/saveriomiroddi/geet/issues/14)
> 8. Implement milestones listing/show (https://github.com/saveriomiroddi/geet/issues/8)
> 4. Allow writing description in an editor (https://github.com/saveriomiroddi/geet/issues/4)
> 2. Support opening PR into other repositories (https://github.com/saveriomiroddi/geet/issues/2)
List the open PRs, in default order (inverse creation date):
$ geet pr list
> 21. Add PRs listing support (https://github.com/saveriomiroddi/geet/pull/21)
$ geet milestone list
> 9. 0.2.0
>   4. Allow writing description in an editor (https://github.com/saveriomiroddi/geet/issues/4)
> 6. 0.2.1
>   69. Display warning when some operations are performed on a forked repository (https://github.com/saveriomiroddi/geet/issues/69)
>   60. Update Create PR test suite; the UTs are not inspecting some of the changes (https://github.com/saveriomiroddi/geet/issues/60)
>   51. Services should take repository in the initializer (https://github.com/saveriomiroddi/geet/issues/51)
> 7. 0.2.2
>   43. PR Merging: upstream support (https://github.com/saveriomiroddi/geet/issues/43)
>   35. Improve design of repository-independent actions (https://github.com/saveriomiroddi/geet/issues/35)
$ geet label list
> - bug (#ee0701)
> - enhancement (#84b6eb)
> - technical_debt (#ee0701)
> - top_priority (#d93f0b)
Create a private gist:
$ geet gist create /path/to/myfile
Create a public gist, with description:
$ geet gist create --public /path/to/myfile 'Gist description'
Menus can be used for selecting attributes (labels, collaborators, milestones…).
This is an example of multiple choice selection:
Please select the label(s): (Use arrow keys, press Space to select and Enter to finish, and alphanumeric/underscore characters to filter)
‣ ⬡ bug
  ⬡ enhancement
  ⬡ not_an_issue
  ⬡ requires_design
Typing alphanumeric keys and underscore will enable filtering:
Please select the label(s): (Filter: "b")
‣ ⬡ bug
  ⬡ technical_debt
When a filter is active, use Backspace to cancel the last character, and Canc to reset it.
Display the help:
$ geet [command [subcommand]] --help
Examples:
$ geet --help
$ geet pr --help
$ geet pr create --help
 https://github.com/64kramsystem/geet